| ||||||||
|
||||||||


|
Home > 요리 > 테마요리 > 깔끔한 디저트 만들기 |
|
||||||||||||||||||||||||||||||||||||||||||||||||||||||||||||


|
|
   |
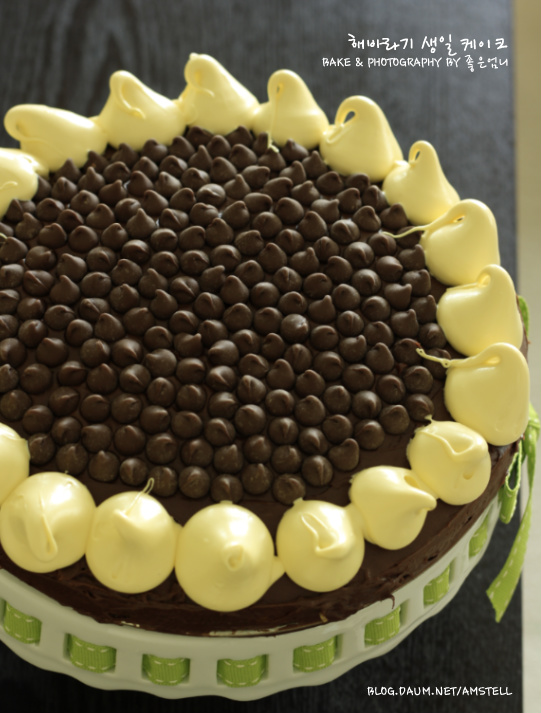
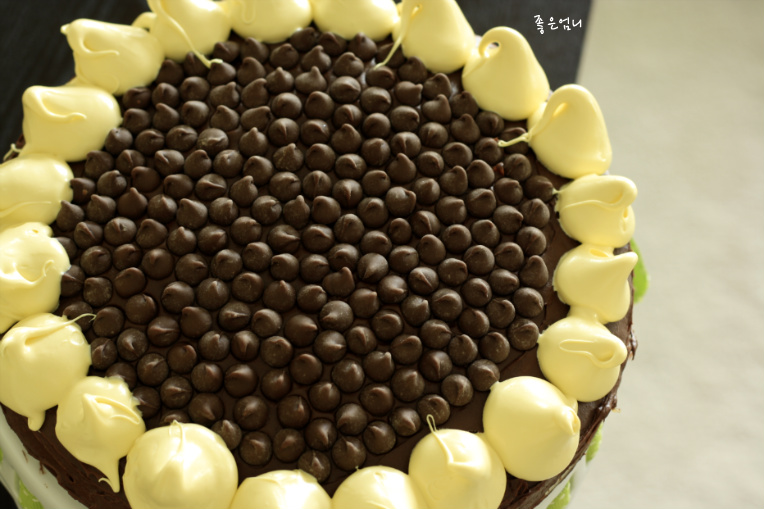
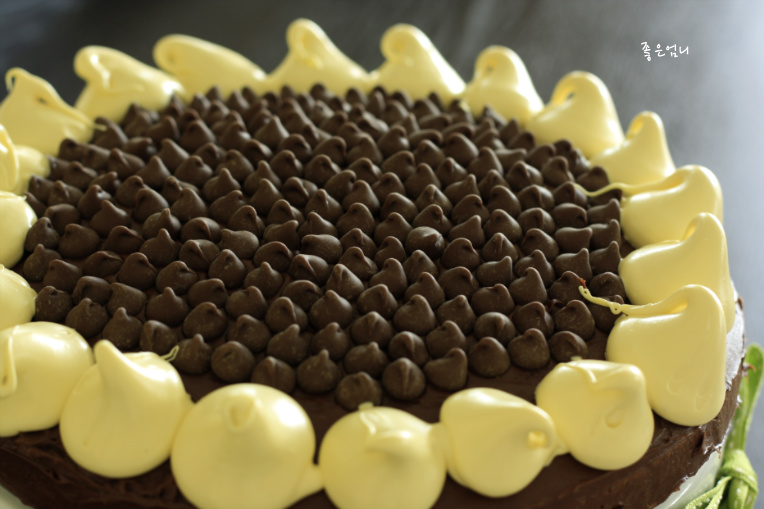
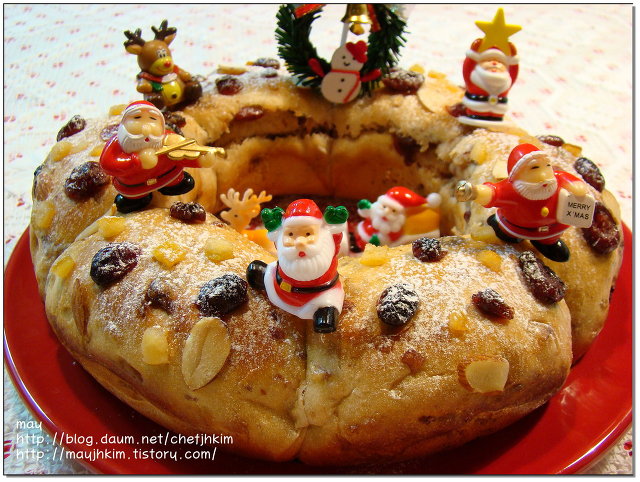
해바라기 케이크 | ||
|
||
http://cook.startools.co.kr/view.php?category=RUwNM0YsUg%3D%3D&num=FhhKeQ%3D%3D&page=182

|
||
|
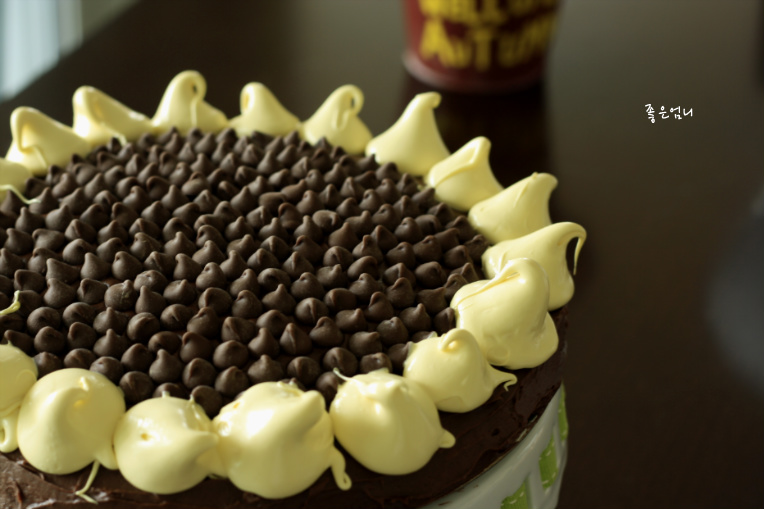
아주 가뿐하게 만들어보았어요. 절~~대 어렵지 않다고하면 믿으시려나?^^;; 케이크 시트또한 팬케이크 재료로 만들었으니 쉽게 느껴지시라 생각하며 시작할께요. '두둥~~둥둥~'
재료
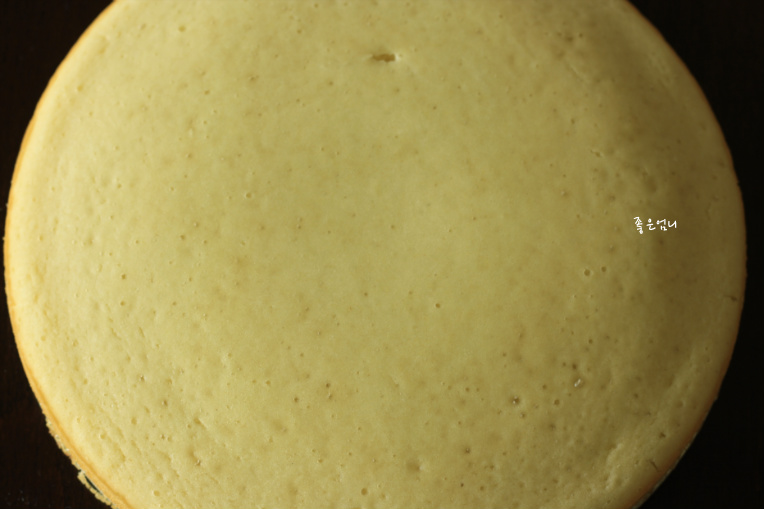
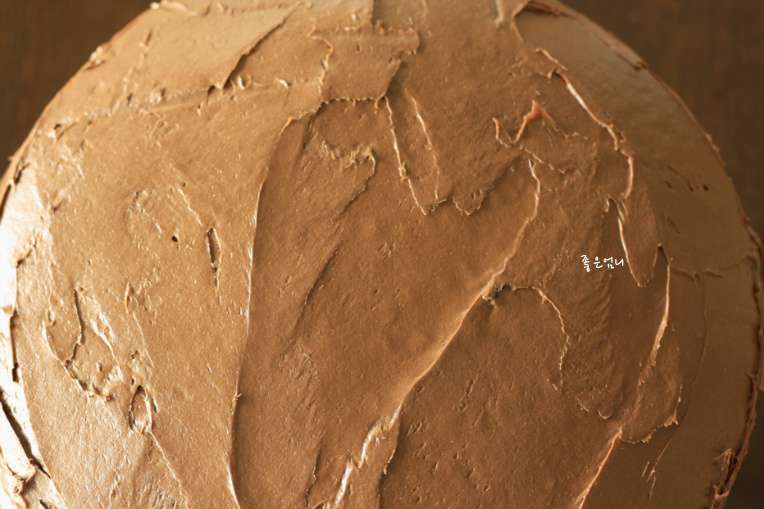
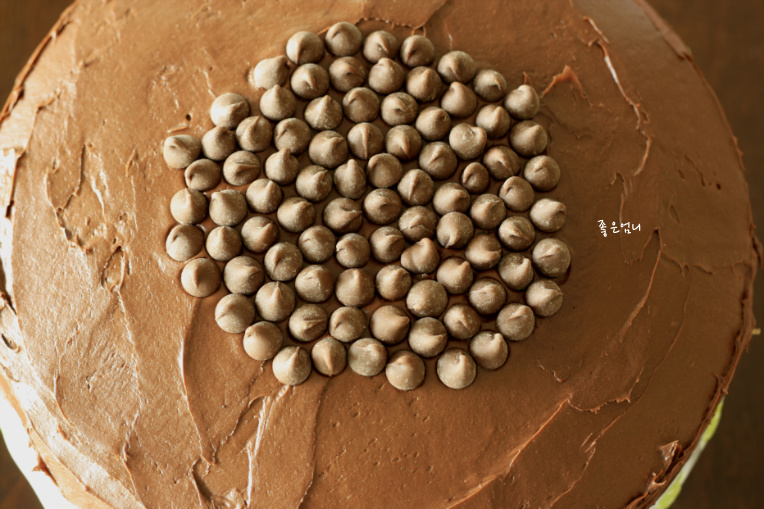
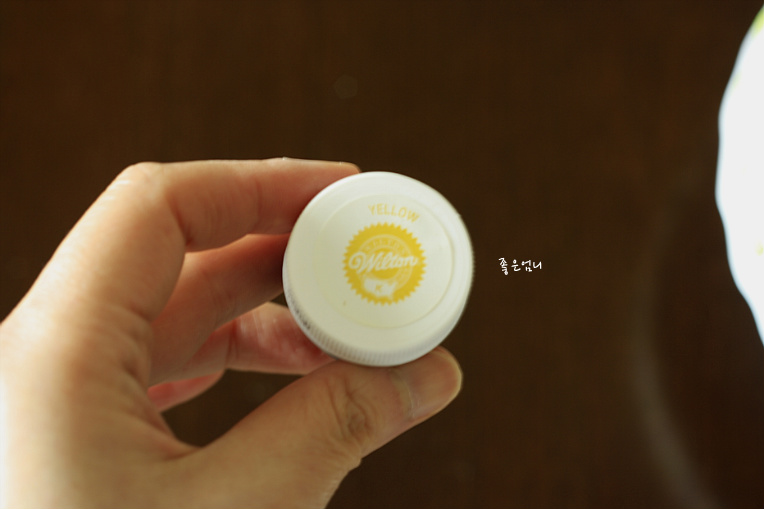
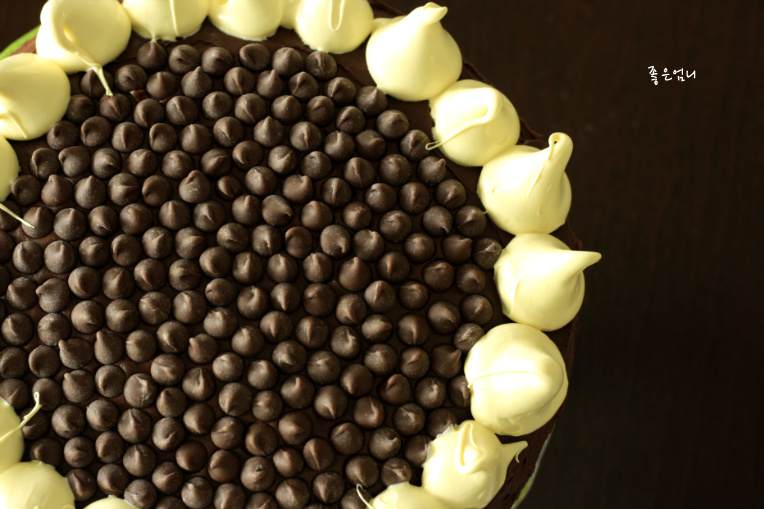
팬케이크 믹스 (또는 핫케이크 믹스) - 2컵, 물 - 1&1/2컵, 설탕 - 1/2컵 버터 - 200g (100g씩 따로 준비), 슈가파우더 - 맛을 보면서 첨가, 쵸콜렛 - 40~ 50g, 쵸콜렛 칩 - 가득히, 노란색 아이싱컬러 팬케이크 믹스로 만들어진 케이크 시트입니다. 케이크 믹스와 물 그리고 설탕을 볼에 넣어 거품기로 골고루 저어주신 후 충~분히 예열된 350도F (180도C) 오븐에서 25~30분정도 구워주시면 완성. 꼬치테스트로 확인해주시구요 버터 100g, 녹인후 살짝 식힌 쵸콜렛을 핸드믹서로 윙~~섞어 골고루 발라주세요 쵸콜렛 칩을 하나씩 차근차근 놓아가며 장식을 시작합니다 제가 사용하는 윌튼 노란색 아이싱컬러예요. 버터 100g과 슈가파우더를 적당히 넣어 핸드믹서로 부드럽게 만들고 노란색 컬러를 꼬치에 살짝 묻혀가며 첨가해주세요. 둥근 깍지를 이용하여 짤주머니에 담고 케이크의 가장자리에 짜주시면 완성. 쉽죠??^^* 수인공주가 좋아하는 쵸콜렛.^^ 내가 좋아하는 해바라기.^^ 거 참내... 은근히 커다란 해바라기입니다.ㅎ~ |
| |
| 총 게시글 1,542개 |

  181 182 183 184 185 186 187 188 189 190 181 182 183 184 185 186 187 188 189 190   |
 |