| ||||||||
|
||||||||


|
Home > 요리 > 테마요리 > 맛있는 간식요리 |
|
||||||||||||||||||||||||||||||||||||||||||||||||||||||||||||


|
|
   |
상큼한 딸기 팬케이크 | ||
|
||
http://cook.startools.co.kr/view.php?category=UkcfI0g%3D&num=Ex1NeA%3D%3D&page=351

|
||
|
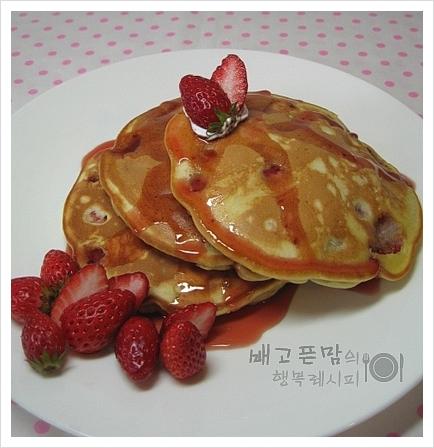
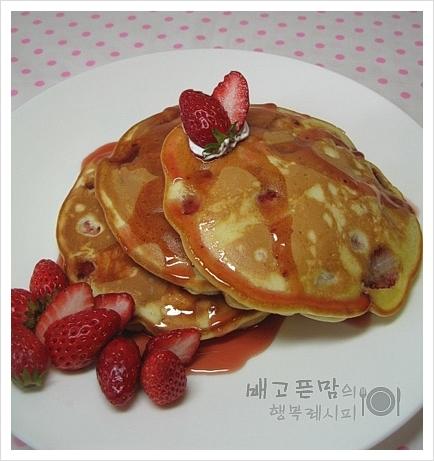
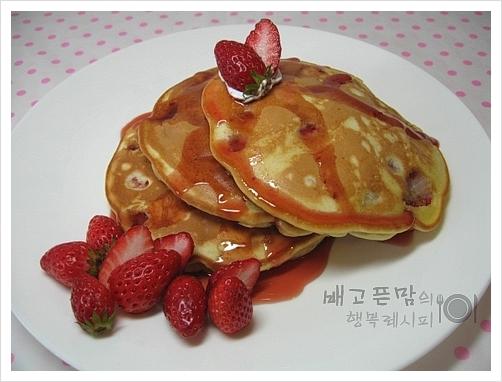
딸기 송쏭~~ 딸기 팬케익.
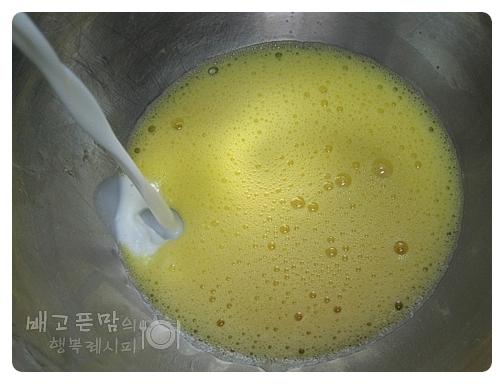
계란 2개를 거품기를 이용해 충분히 풀어줍니다.
그리고.. 우유 150ml를 넣어 섞어줍니다.
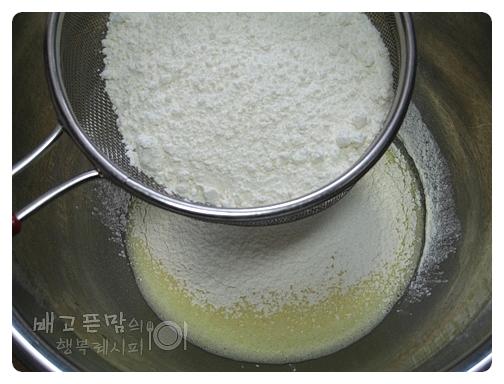
계란물 볼에 체를 걸고 마트에 파는 팬케익가루 500g을 체에 한번내려 섞어줍니다.
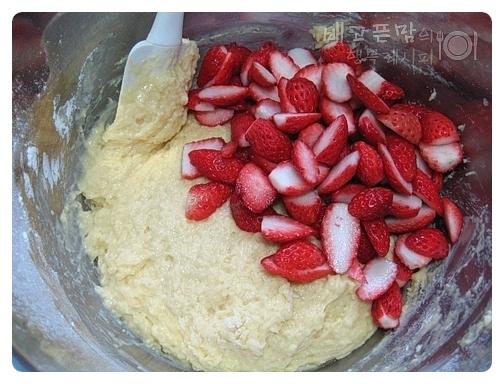
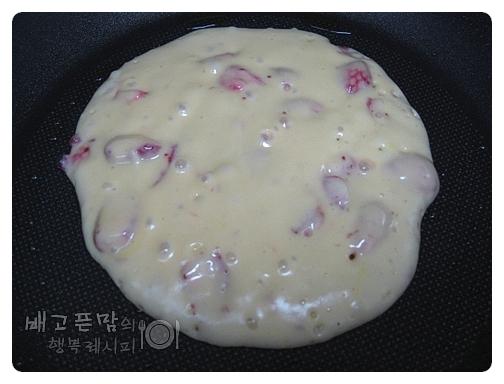
그리고 깨끗하게 씻어 꼭지를 제거하고 반으로 자른 딸기 200g을 넣고 고루섞어줍니다. 제가 사용한 딸기는 크기가 어른 엄지 손가락 한마디 정도 크기입니다. 딸기가 너무 두껍지 않게 잘라 넣어주세요.
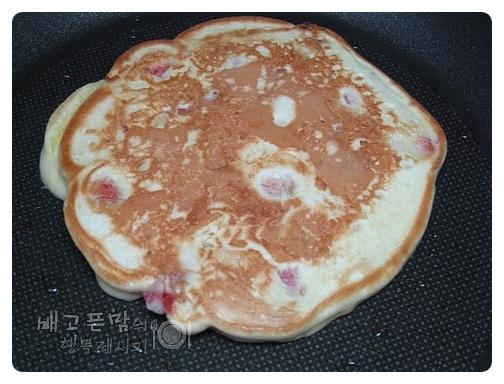
달군팬에 기름을 살짝이 두르고 반죽을 얇게 떠올리고 약한불에서 구워줍니다. 딸기가 서로 겹치지않게 반죽을 올려주세요. 2~3분 구워 구멍이 슝슝~~ 생기면 뒤집어줍니다.
뒤집어서 2~3분 더 구워줍니다.
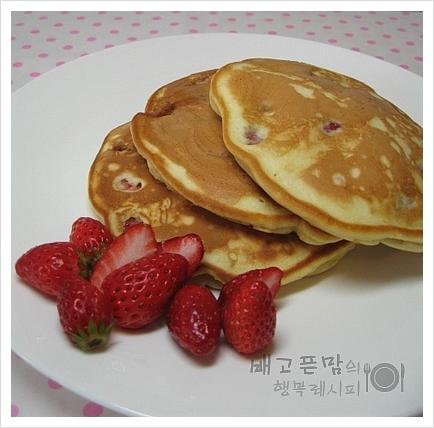
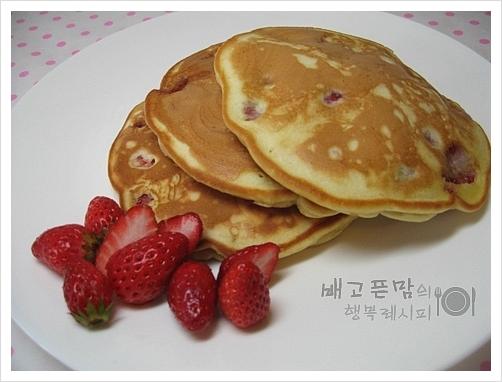
집에 딸기맛 올리고당이 있어 뿌려봤어요. 달콤한 시럽이랑 새콤한 딸기랑 서로 잘 어울리네요. 간단한 팬케익 가루에 딸기만 추가했더니 상큼한 팬케익이 나왔네요. |

| |
| 총 게시글 2,501개 |
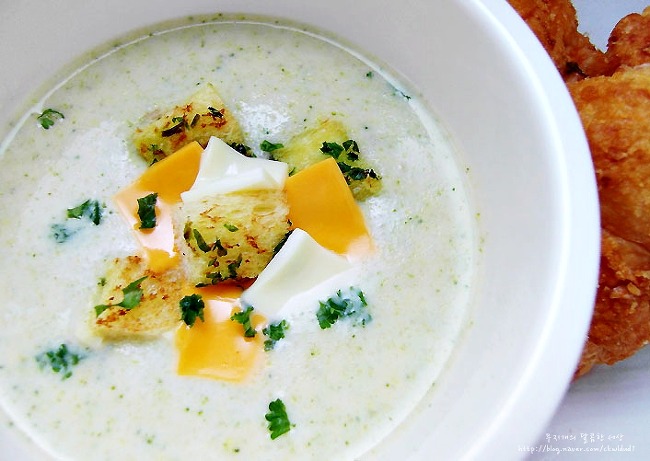 | 영양 만점! 야채 수프 | 조회: 145841 |
| 바쁜 아침, 굶지 마세요~ 아침식사 대용으로 최고! 10점 만점에 10점! 영양만점 야채수프 바쁘다 바뻐~~~ 월요일만 되면 유난히 더 바쁜 아침.... | ||
| [ 하얀건담 | 2009-07-21 ] | ||
 | 담백한 초간단 닭가슴살 잡채 | 조회: 118883 |
| [잡채의 맛] - 담백한 초간단 닭가슴살 잡채 잡채는 당면이 들어간 음식으로 알고 있지만 당면 뿐만 아니라 채소 ·버섯 ·고기 등 여러 가지 재료를 볶아서 무치는 숙... | ||
| [ 햇님 | 2009-07-20 ] | ||
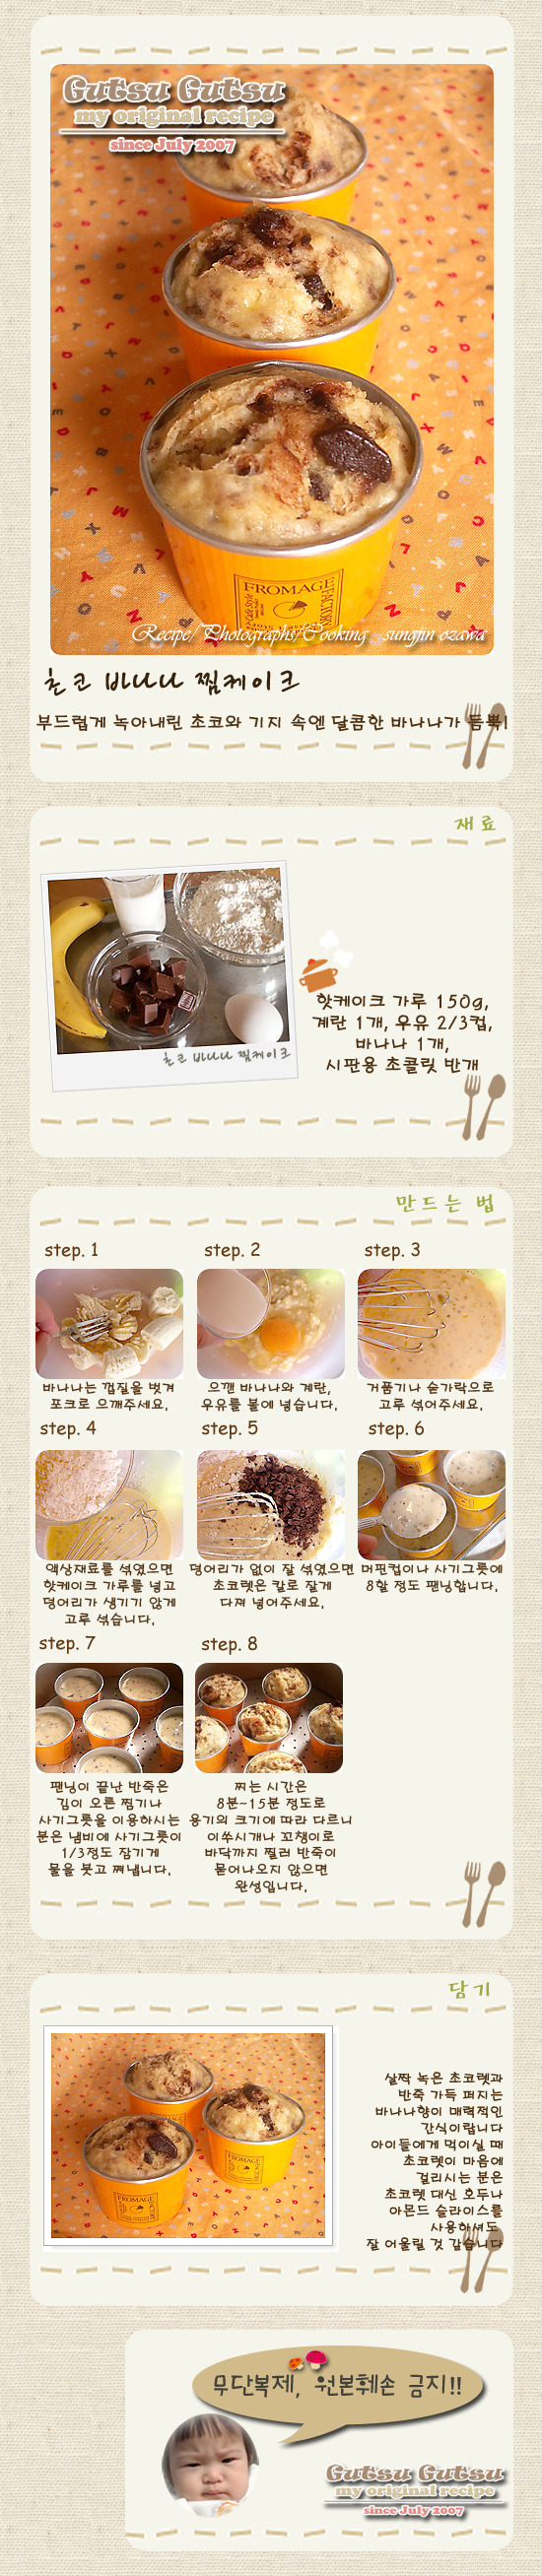 | 초코 바나나 찜케이크!! | 조회: 102245 |
| 살짝 녹은 초코렛과 반죽 가득 퍼지는 바나나향이 매력적인 간식이랍니다.아이들에게 먹이실 때 초코렛이 마음에 걸리시는 분은 초코렛 대신 호두나 아몬드 슬라이스를 사용하셔도 잘 ... | ||
| [ 진달래 | 2009-07-18 ] | ||
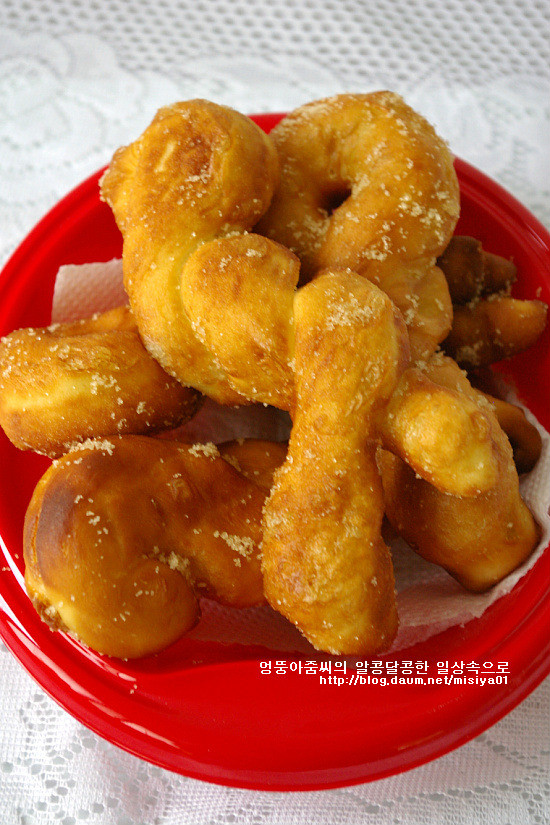 | 부드러운 꽈배기 도너츠 만들기...^^ | 조회: 90646 |
| 발효를 해서 반죽을 만드는 거라 좀 늦게 시작했더니 완성하고 나니 바로 저녁시간이 다 되었더랍니다...ㅋㅋ 이런 발효빵을 만드실땐 시간을 잘 생각해서 만드셔야 ... | ||
| [ 청개구리 | 2009-07-17 ] | ||
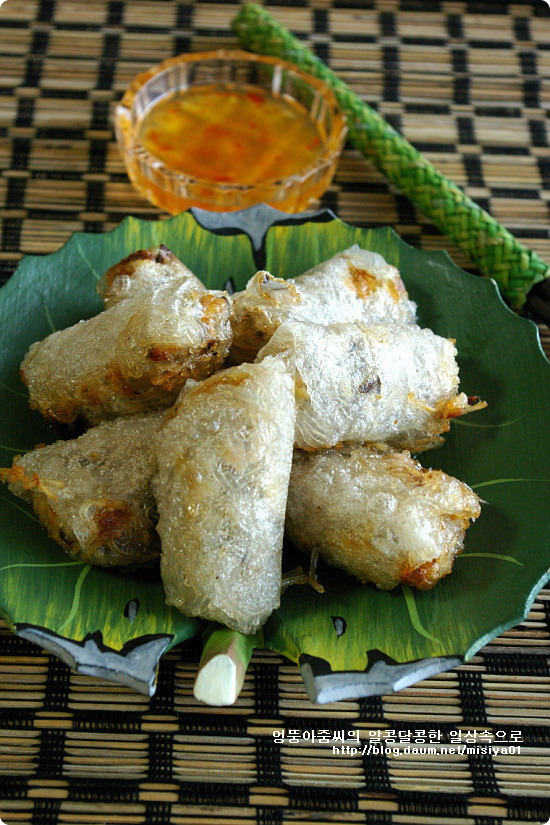 | 베트남식 튀김 만두 짜조(Cha Gio) | 조회: 80498 |
| 월남쌈에 주로 이용하는 라이스 페이퍼에 속재료를 넣어 기름에 바삭하게 튀겨먹는 튀김만두 같은 베트남식 춘권인 짜조(cha gio)를 만들어 봤습니다...^^ 기름... | ||
| [ 후루룩소녀 | 2009-07-15 ] | ||
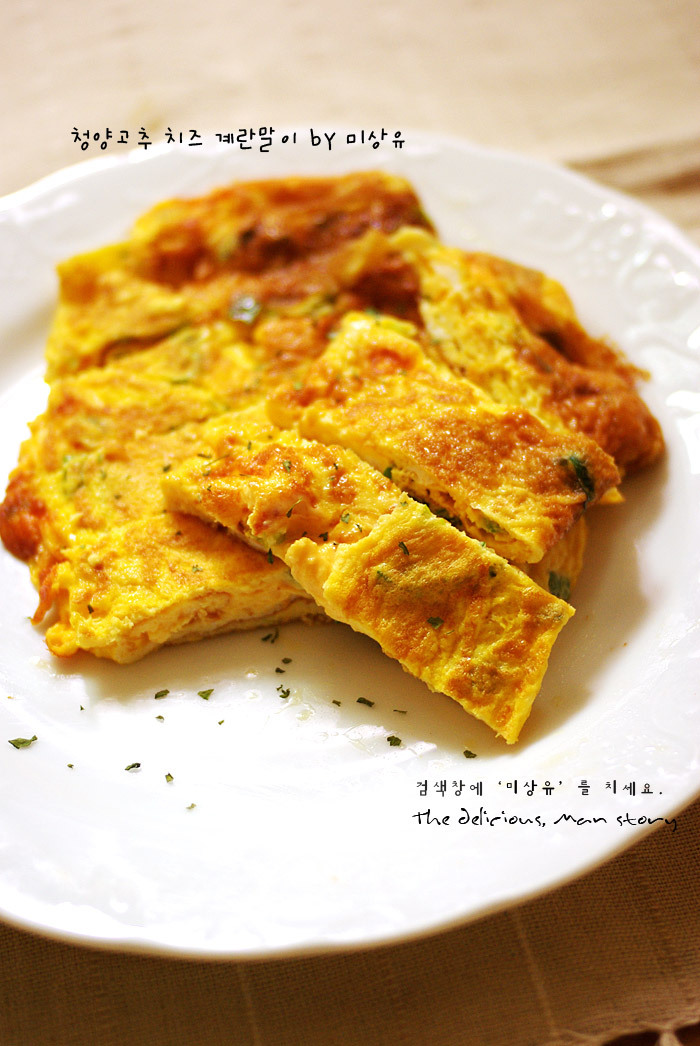 | 땡초 치즈 계란말이 | 조회: 71642 |
| 노른자를 터뜨리지 않고, 뒤집지 않고 완숙에 가까운 반숙으로 구워낸 윤기가 흐르는 계란 후라이는 고기에 이어 식탁의 꽃이라고 할 수 있다. 노른자막을 터뜨릴 때 천천히 흘러내... | ||
| [ 화이트 | 2009-07-13 ] | ||
  351 352 353 354 355 356 357 358 359 360 351 352 353 354 355 356 357 358 359 360   |
 |